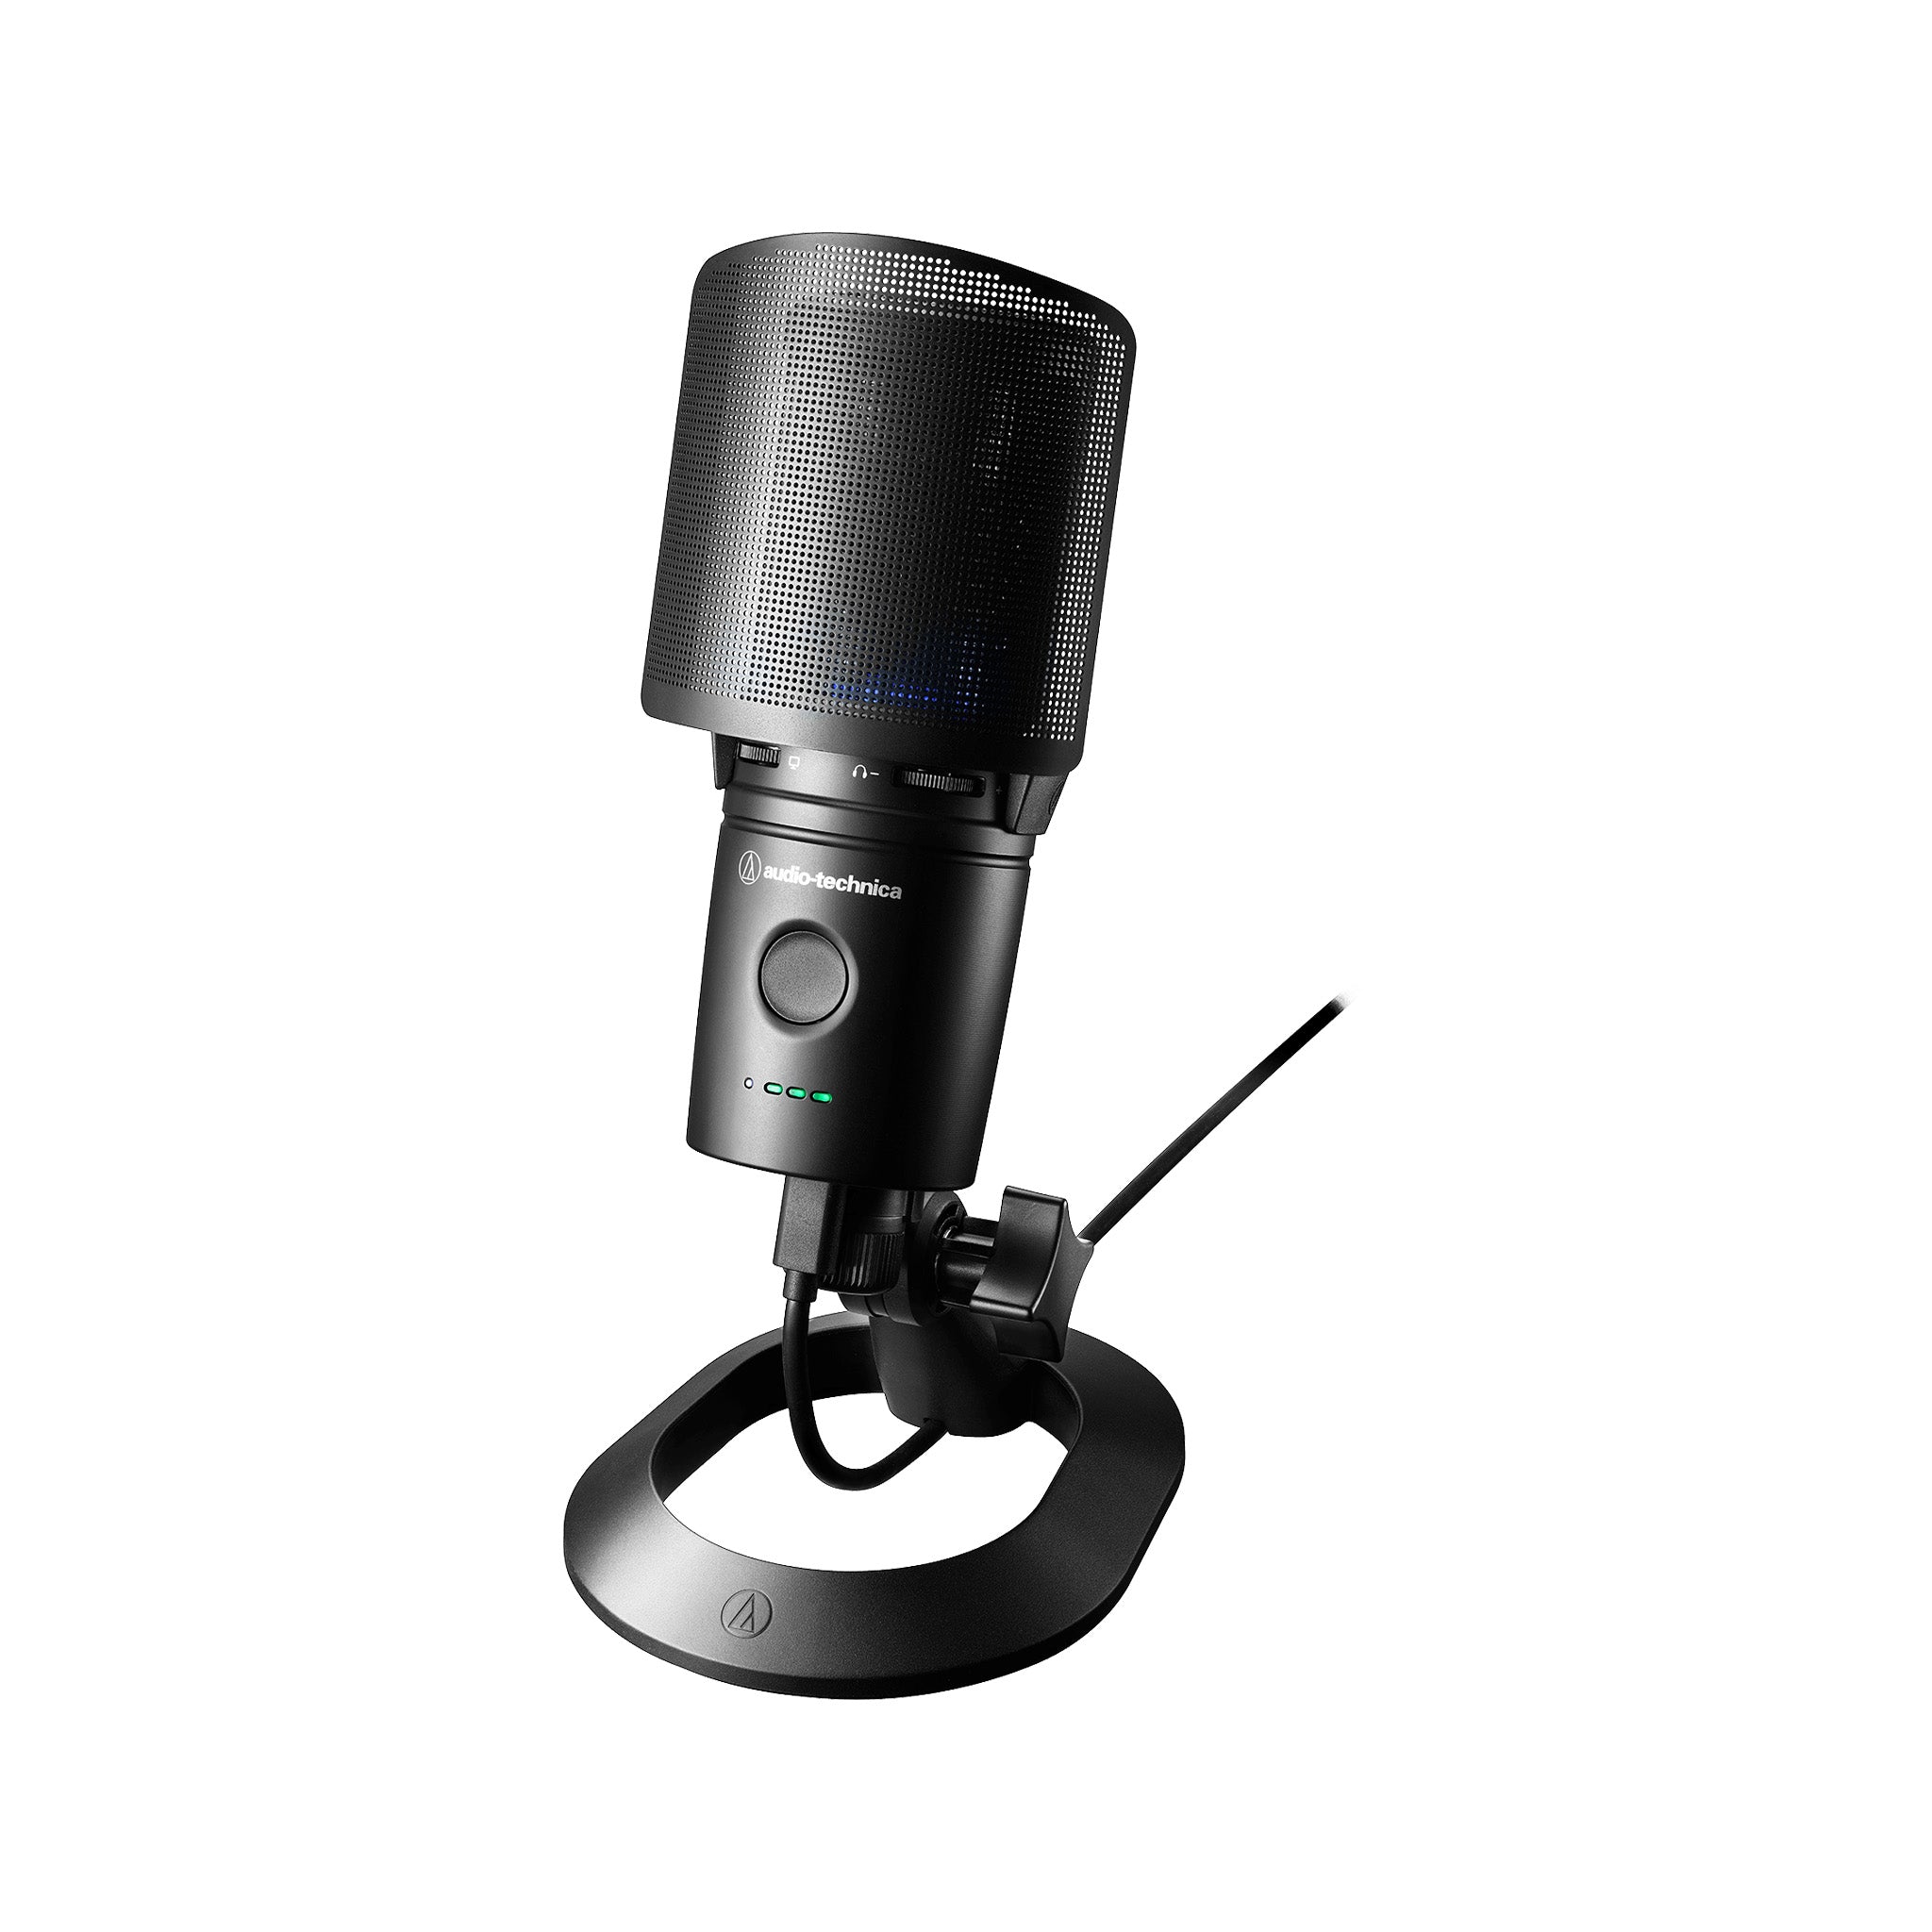
The Audio-Technica AT2020USB-XP is a top - notch microphone solution for streamers, podcasters, and other content creators. It inherits the award - winning sound of the original AT2020. Packed with studio - quality features and onboard digital technology, this microphone is a game - changer.
Key Features:
- Its USB connection offers a smooth, extended frequency response, perfect for streaming, podcasting, and content creation.
- The cardioid pickup pattern zeroes in on your voice or the desired sound source.
- The noise reduction switch gives you three levels of noise reduction or the option to turn it off.
- Activate the automatic gain control to keep a steady mic output level.
- The headphone jack, with a high - output amplifier and volume control, allows for real - time monitoring with great sound quality.
- Use the mix control to blend the microphone signal with computer audio.
- The soft - touch capacitive mute button lets you quickly and silently mute the audio.
- The high - resolution A/D converter, with up to 24 - bit/192 kHz recording sampling rate, delivers extremely clear and natural sound.
- The two - state LED indicator ring shows blue when powered on and red when muted.
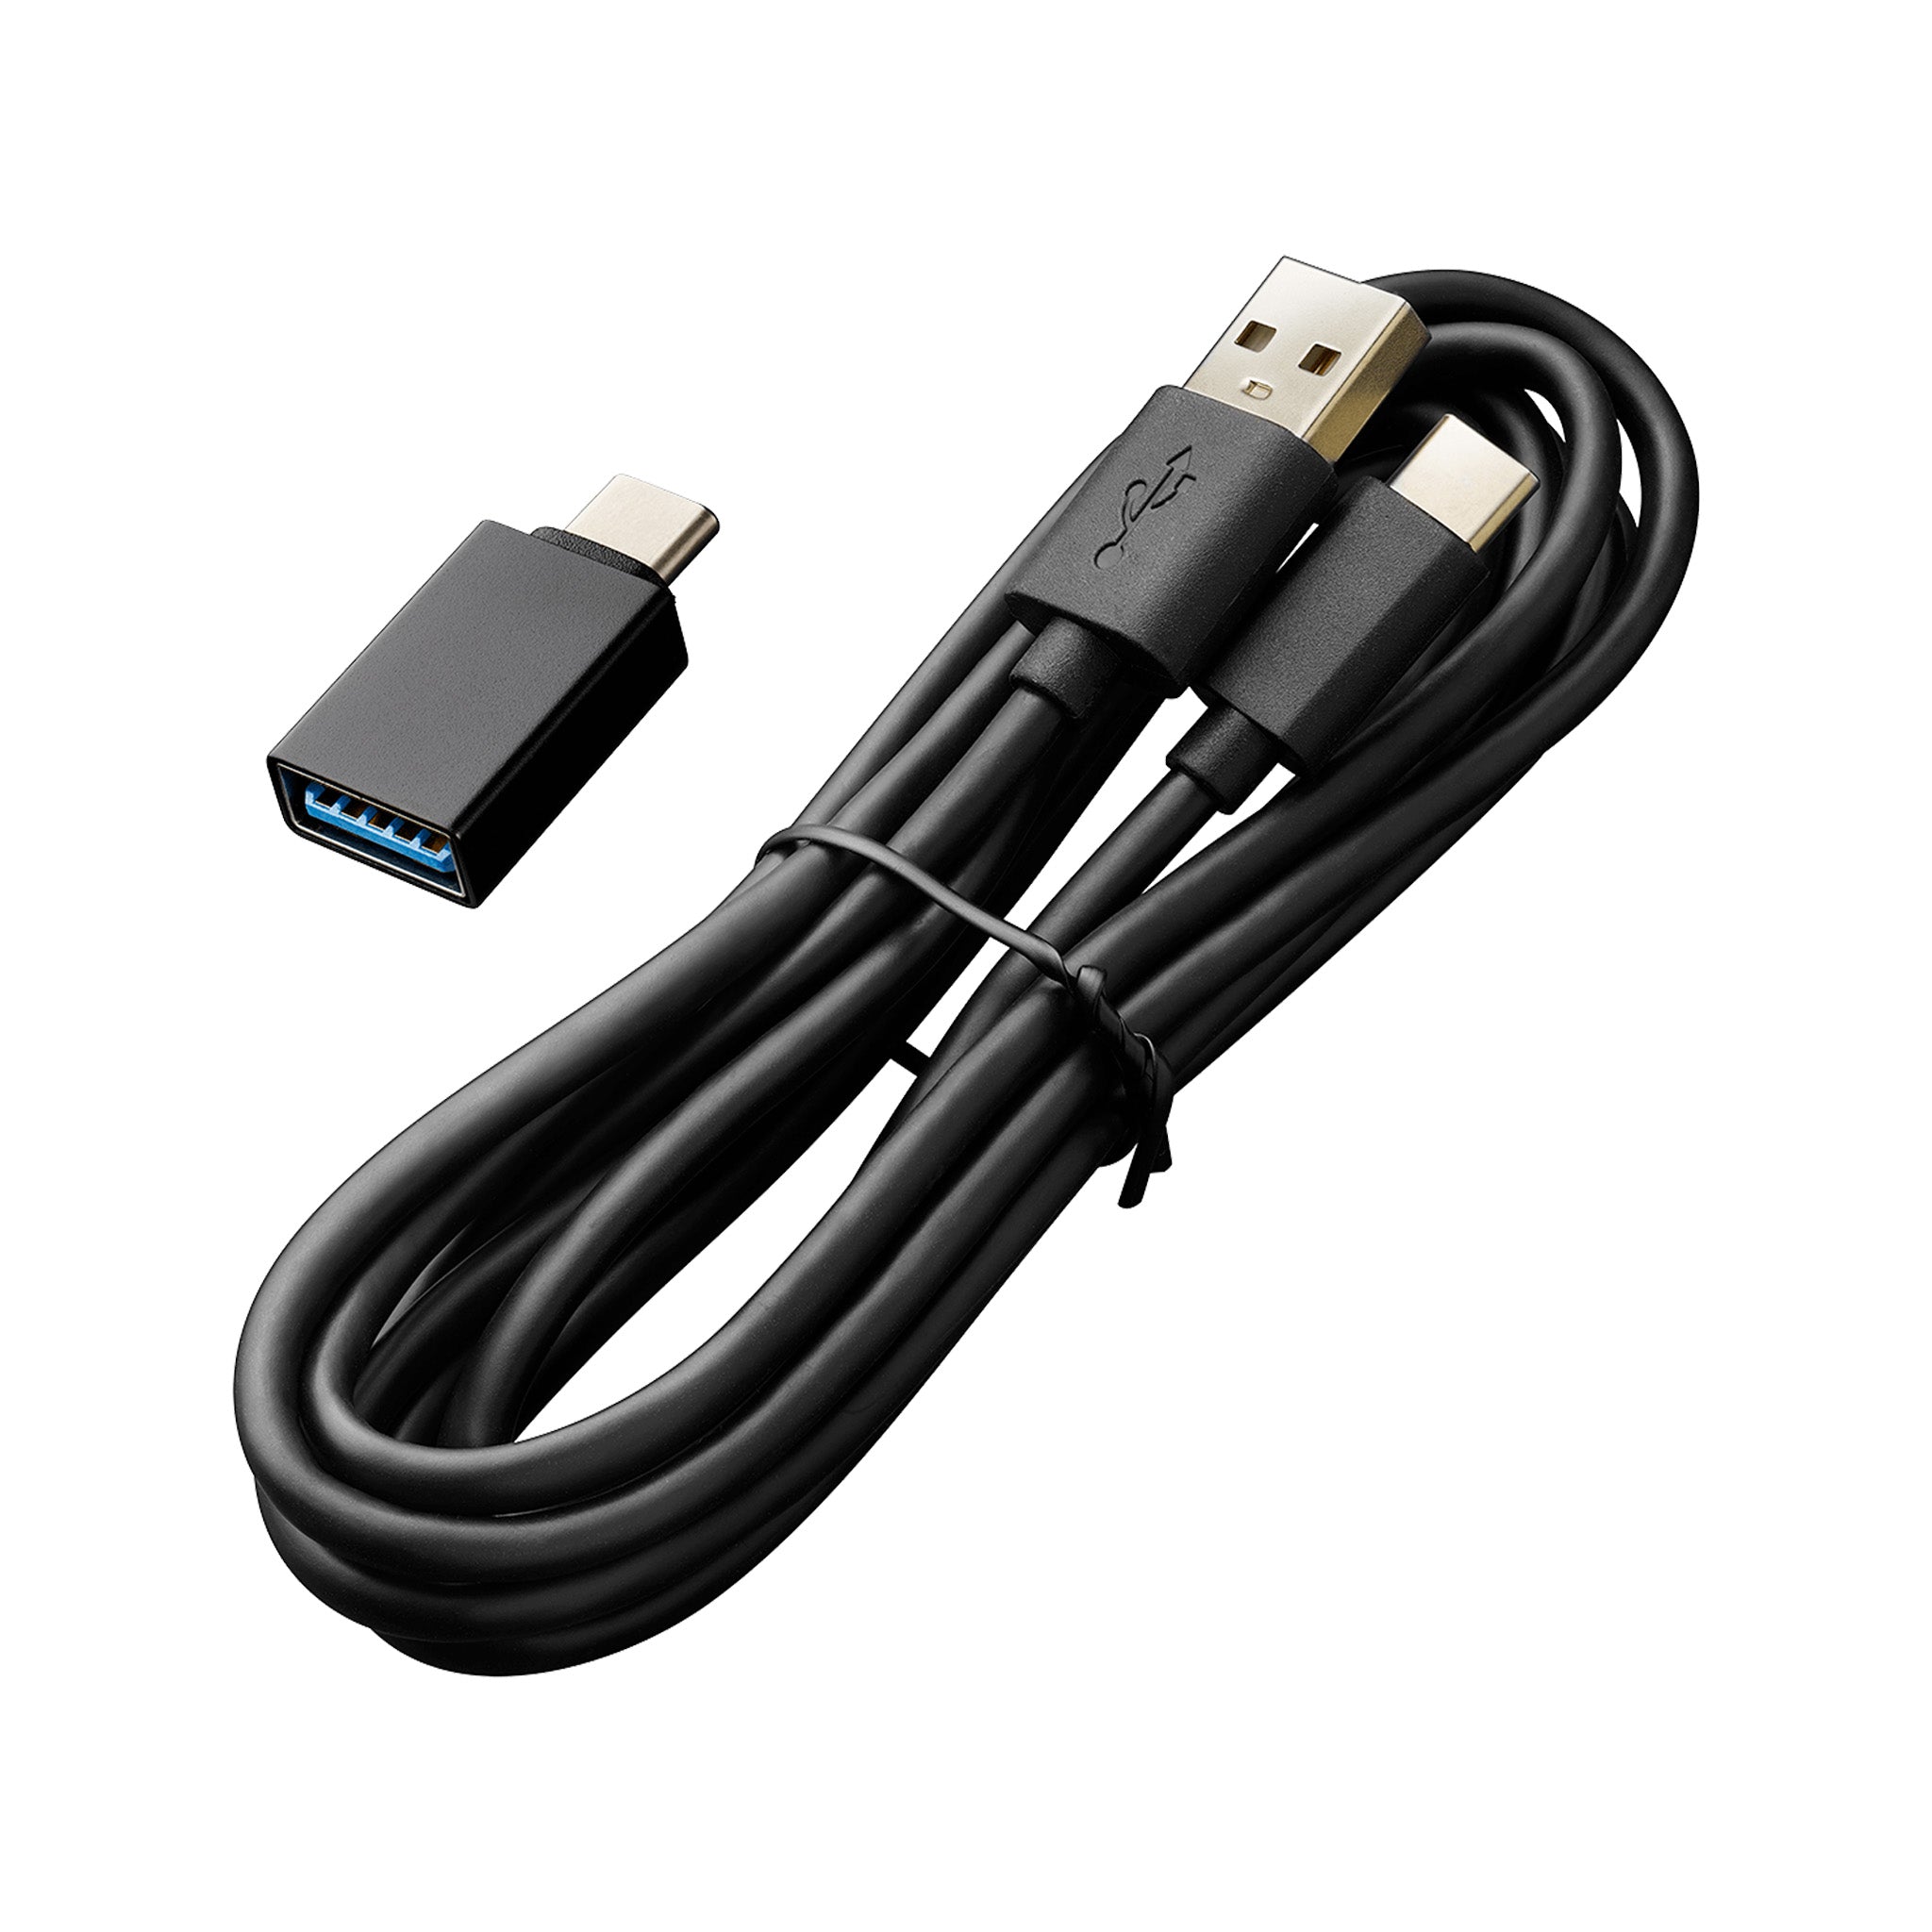
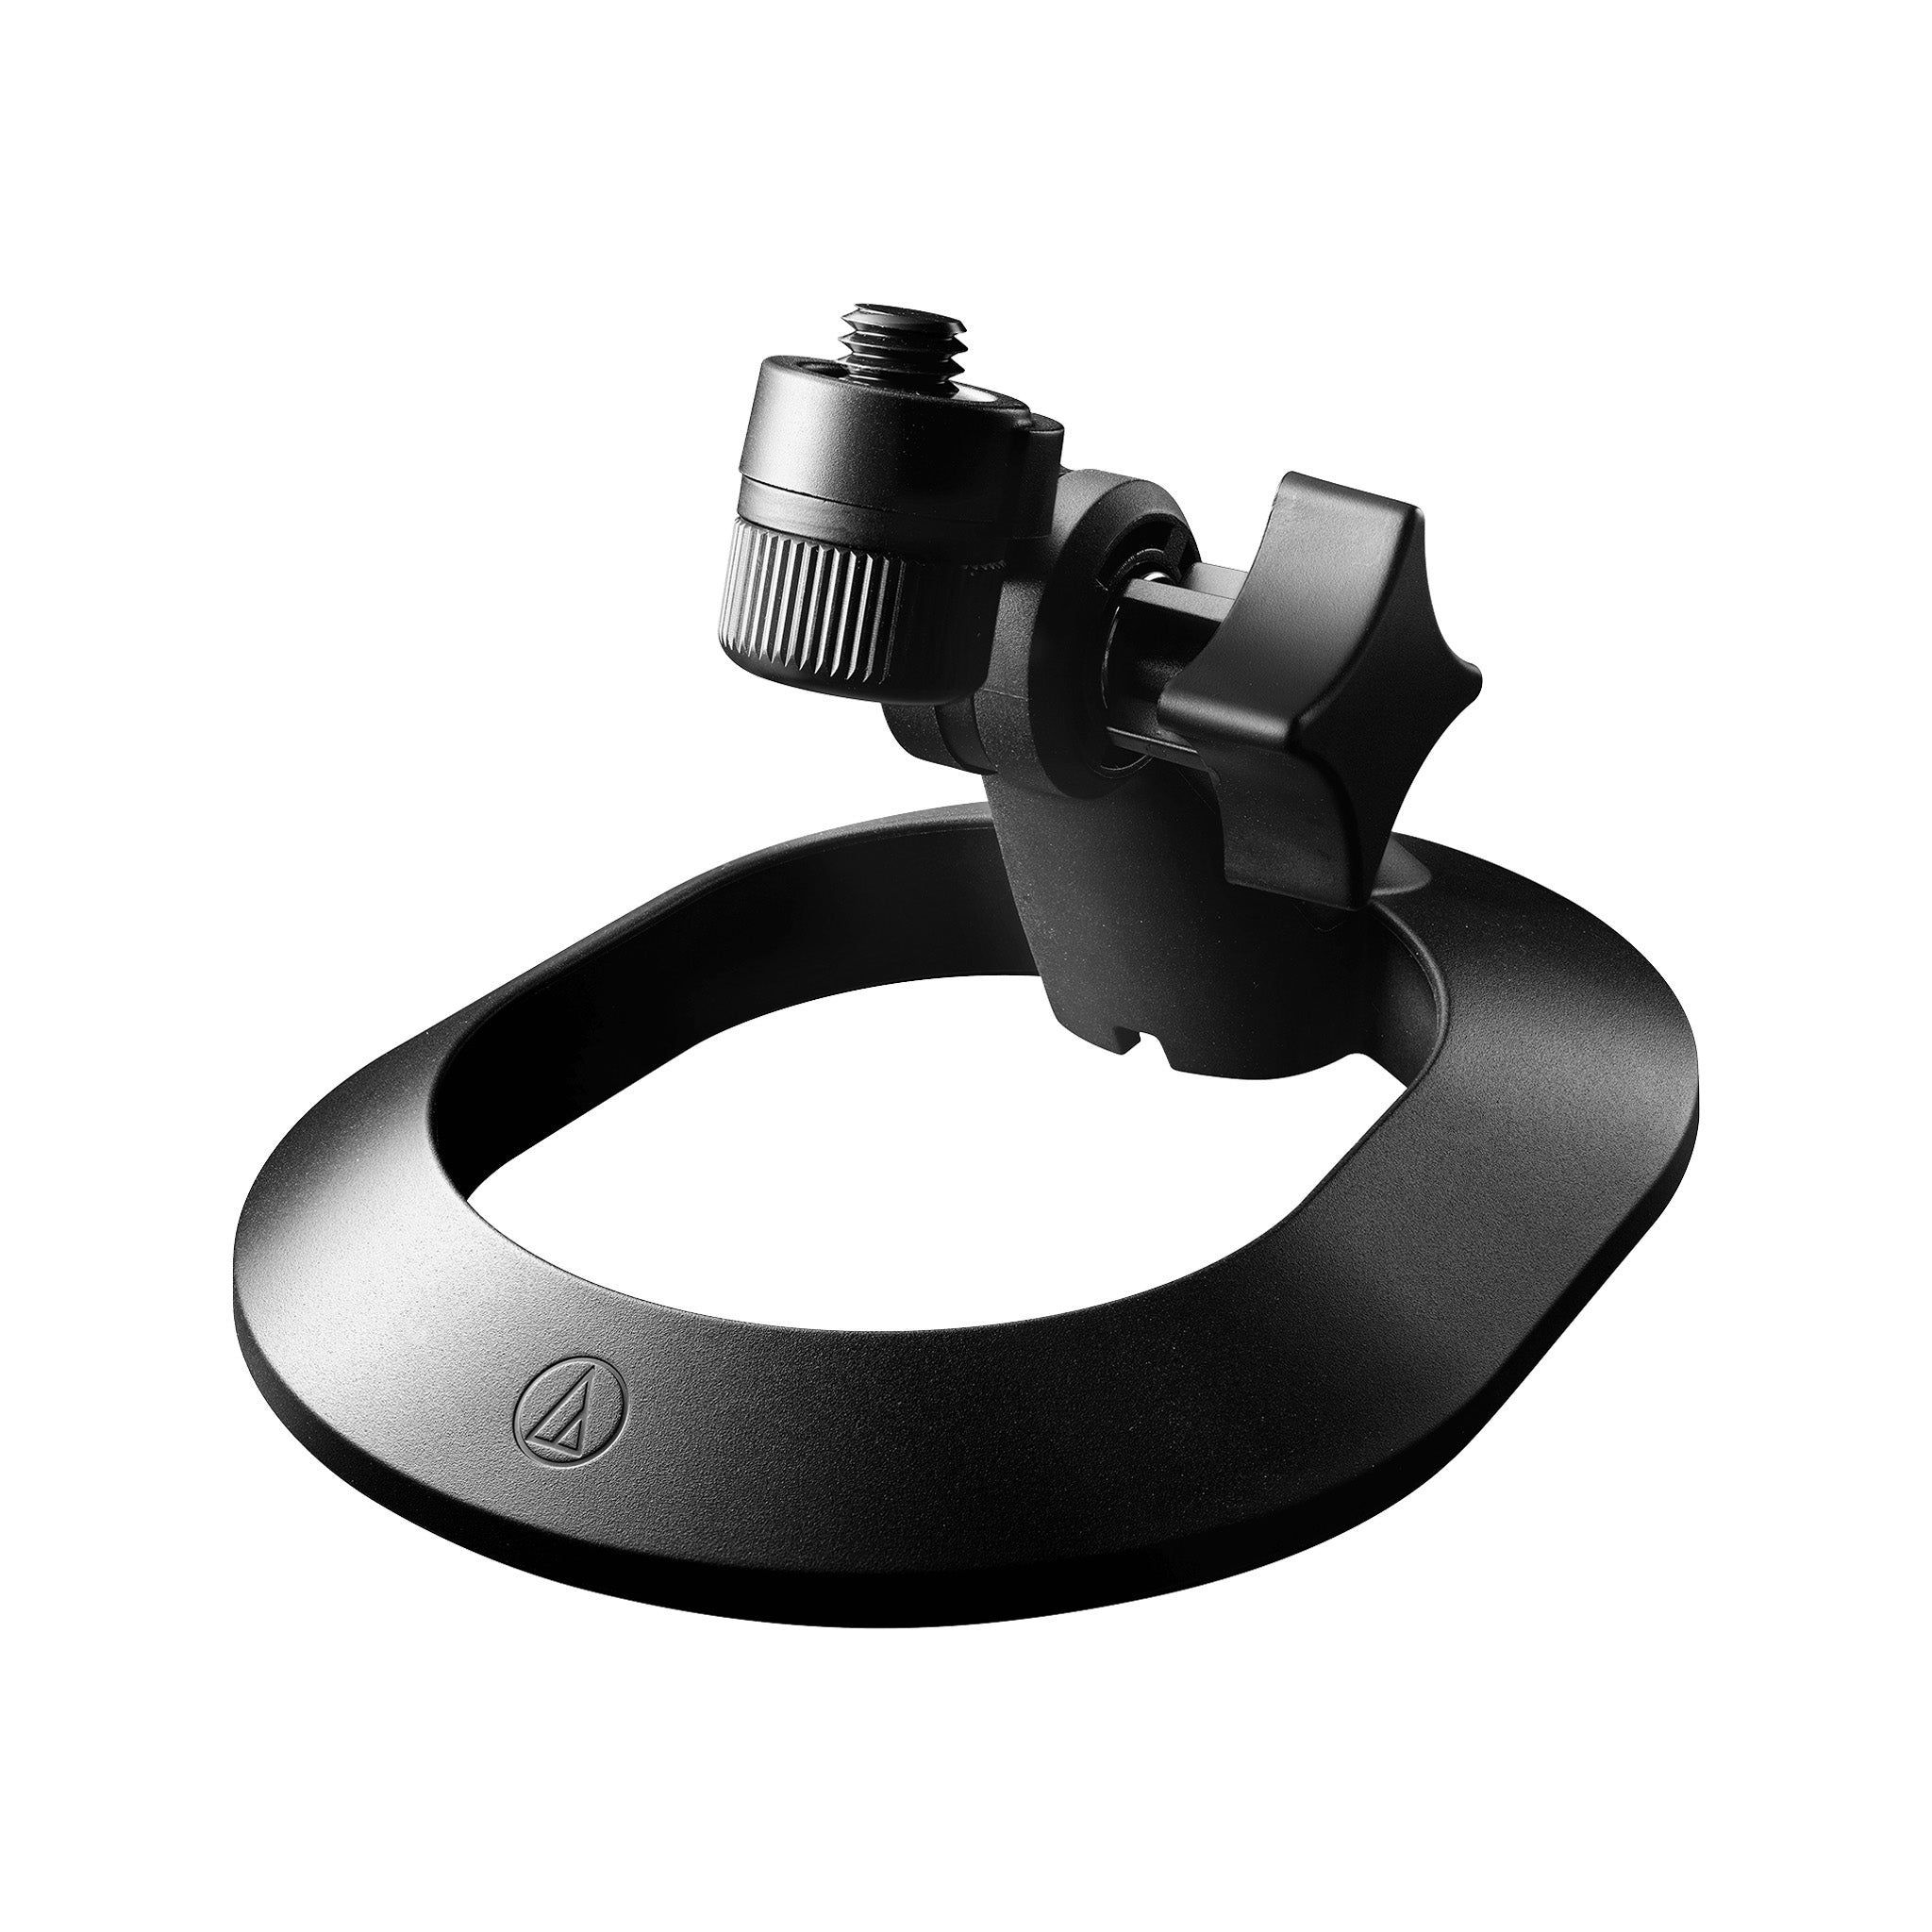
- Comes with accessories like a custom desk stand, clip - on pop filter, 3/8' - 16 to 5/8' - 27 threaded adapter, 2.0 m (6.6') USB - C to USB - A cable, and USB - A to USB - C adapter.
Specifications:
- Element: Fixed - charge back plate, permanently polarised condenser.
- Polar Pattern: Cardioid.
- Frequency Response: 20 - 20,000 Hz.
- Power Requirements: USB power (5 VDC).
- Bit Depth: 16 bit/24 bit.
- Controls: Headphone level control, Mix control, Mute, Auto gain control, Noise - reduction.
- Headphone Jack: 3.5 mm (1/8') stereo mini - jack.
- System Requirements: USB 2.0 compliant.
- Included Accessories: Stand (AT8702), Pop filter, 3/8' - 16 to 5/8' - 27 threaded adapter, USB cable (about 2.0 m (6.6'), USB Type - C to USB Type - A), USB conversion adapter (USB - Type - A to USB Type - C).


Using the Audio - Technica AT2020USB - XP is a breeze. First, connect the microphone to your computer using the provided USB - C to USB - A cable. Make sure your computer meets the USB 2.0 compliant system requirements. If you need to change the connection type, you can use the USB - A to USB - C adapter.
When you're ready to record or stream, power on the mic. The LED indicator will light up blue. Position the microphone in front of your mouth, taking advantage of the cardioid pickup pattern to focus on your voice. You can adjust the headphone volume using the headphone level control for real - time monitoring. Use the mix control to blend the microphone signal with computer audio if you want to play background music or other sounds.
If you're in a noisy environment, use the noise reduction switch to select the appropriate level of noise reduction. The automatic gain control can be switched on to keep a consistent output level. When you need to pause speaking, just press the soft - touch capacitive mute button, and the LED will turn red.
As for maintenance, keep the microphone clean by gently wiping it with a soft, dry cloth. Avoid exposing it to extreme temperatures or humidity. When not in use, store it in a safe place, and you can use the custom desk stand and clip - on pop filter to protect it from dust and damage. And don't forget to check the included accessories regularly to make sure they're in good condition.